
A couple of weeks ago, Brad and I set to work redoing our builder-basic walk-in closet by adding a custom closet system that his parents generously gave us for our birthdays.
Before
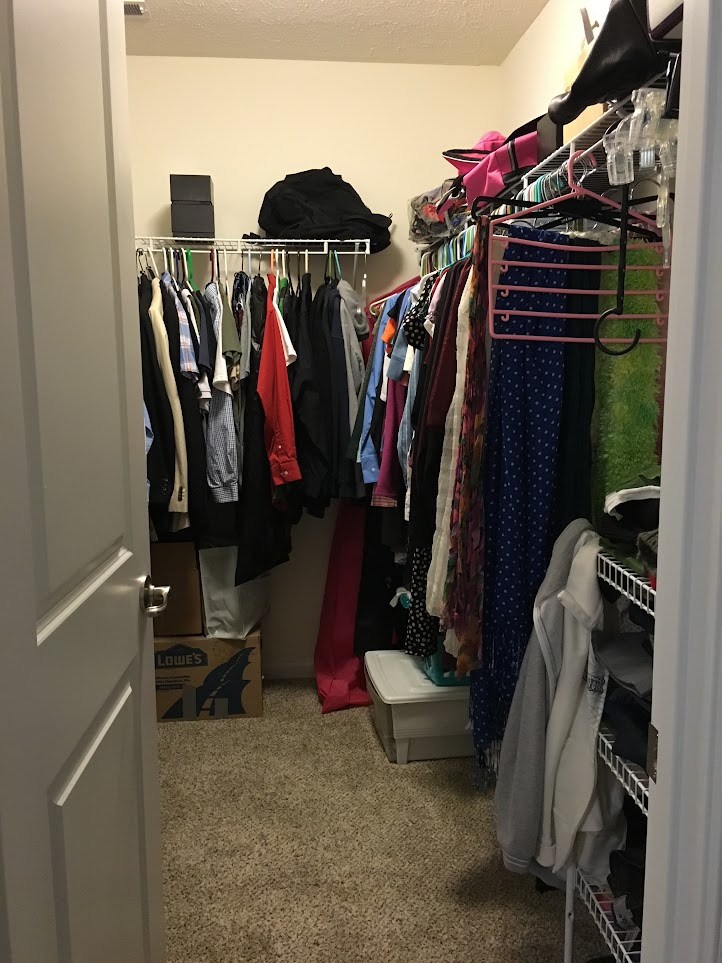
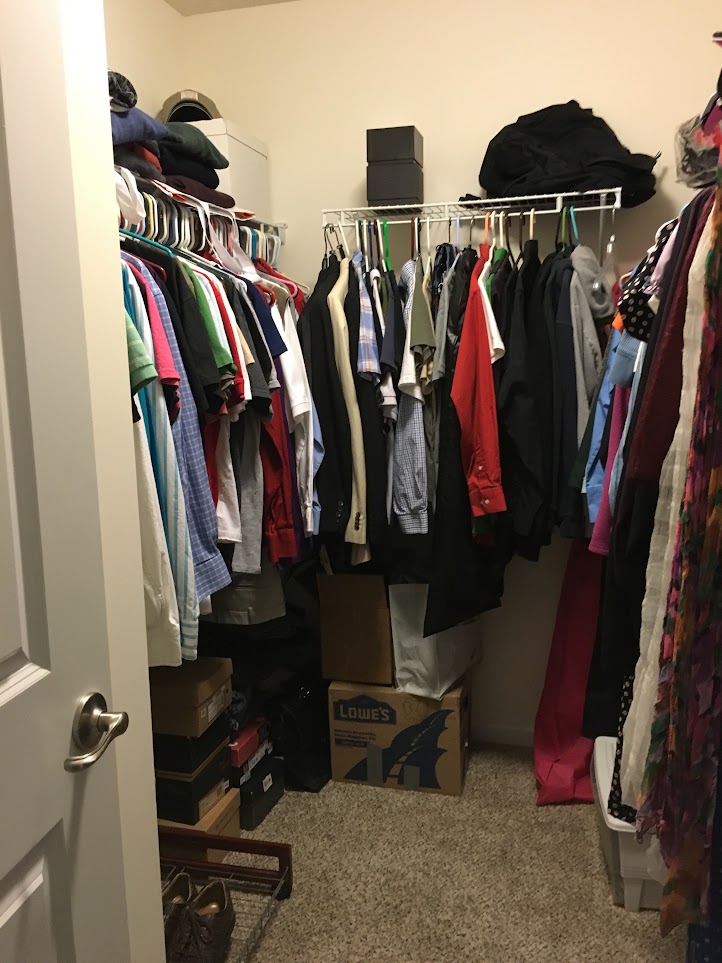
I had the right side of the closet and part of the back wall. Although the builder rack stuck out in a way that made it impossible to hang anything close to the door, or it wouldn’t open. Brad had the shorter left side of the closet and we shared the back.
Step 1: Clean Out
We took an hour on a Thursday evening and took everything out of the closet. Between our spare bedroom closets and the clothes rack from our laundry room, we were able to hang everything up so we didn’t have to deal with added wrinkles! While taking everything out, we took the opportunity to get ride of things we no longer need or use and put away items that had just been stashed in the closet when we moved and didn’t have homes yet.
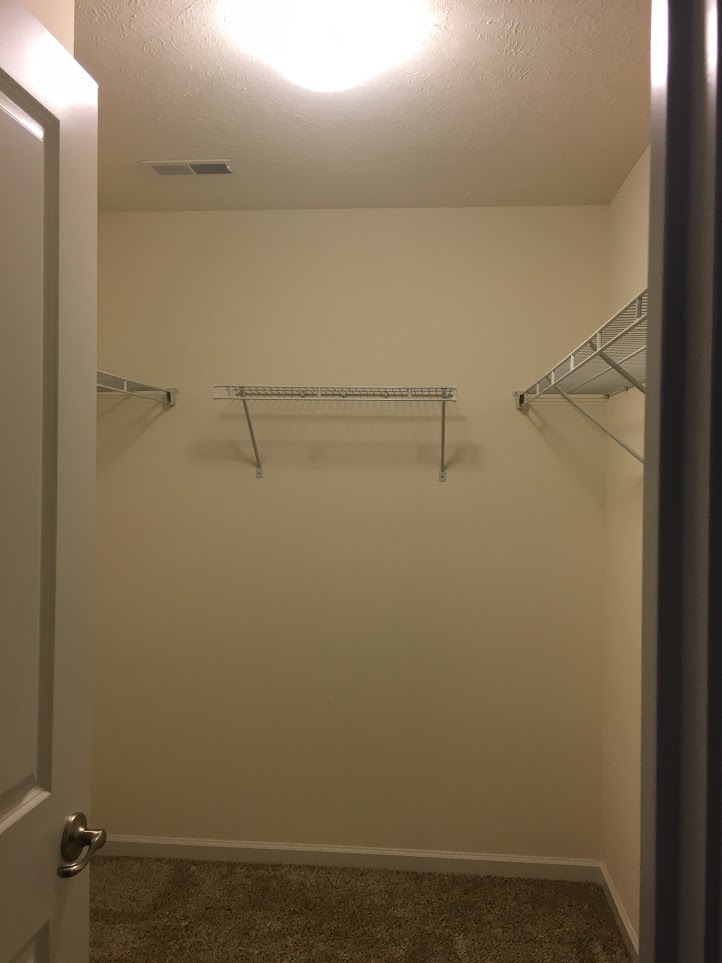
Next, we removed the 8-foot long shelf from the right side and the 5 1/2-foot long shelf from the left side. We have a bump out in the closet for a utility run. Since the wire shelving was installed with nails and anchors, Brad used a screw driver to loosen the nail, then pulled them out with pliers. He then carefully removed the plastic anchors with the pliers. Our goal is to be able to reuse the shelves elsewhere in the house so we didn’t want to damage the hard plastic ware. We also didn’t want to damage the wall.
Step 2: Fill and Paint
On Thursday evening, we were also able to fill the holes from the old shelves. Then on Friday after work, we painted the closet.
We’ve chosen to hold off on painting our house for as long as possible at the recommendation of the builder since they will come back through and fix the nail pops and settlement cracks that occur as a new house settles and is exposed to warming and cooling throughout the first year. We plan on painting our master and with the addition of the closet system, we decided to go ahead and paint the closet.
The builder will fix painted walls but won’t touch it up, we hear that it looks weird when you touch up after they’ve been through, but it’s a closet, so I’m not terribly concerned.
We opted for Sherwin Williams “Let It Rain” gray and only needed one coat.
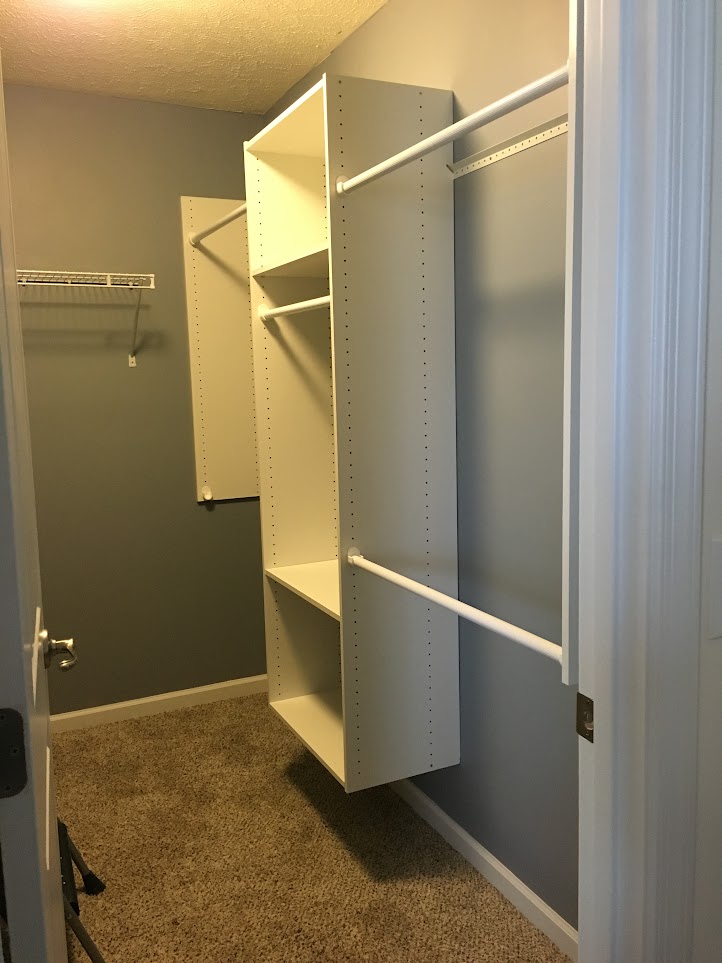
Step 3: Install the Easy Track System
Brad’s parents got us an Easy Track System (well technically two of the basic starter kits) in white. The system is pretty cool because it’s able to be customized in almost any way that you can imagine.
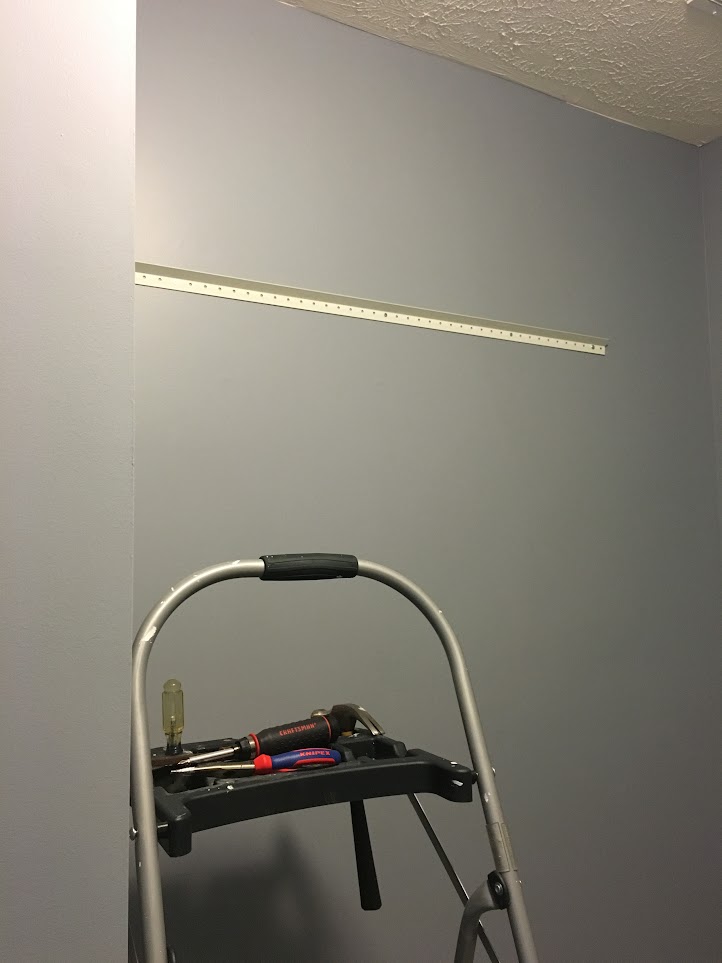
On Saturday, Brad’s family came up to visit and helped us install the system. We spent the day doing fun birthday things. Brad, his dad and his brother went to the Cleveland Auto Show. Brad’s mom and I went to Orchid Mania at the Botanical Gardens then to the Cleveland Museum of Art. Once the fun was over, we were able to install the steel bracket bar. This runs the length of the wall and is what the whole thing hangs on, so you can slide things around as you wish until you have them where you want them. We got my side up with the exception of the bars before calling it quits for the night.
On Sunday we completed hanging the system. Doesn’t it look nice?
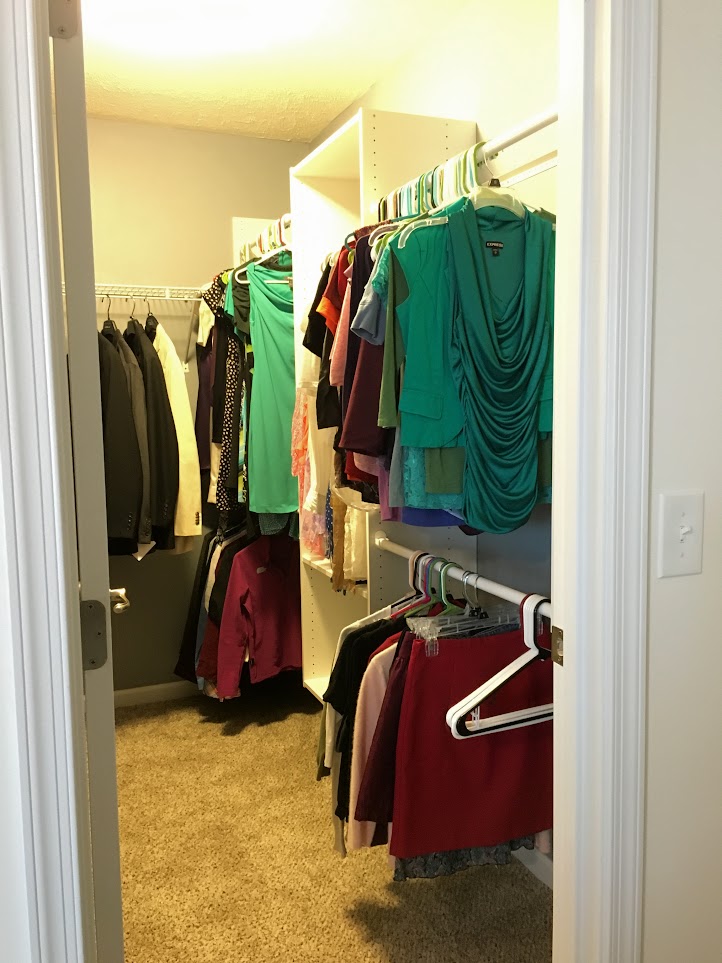
Step 4: Refill
Finally, we refilled the closet.

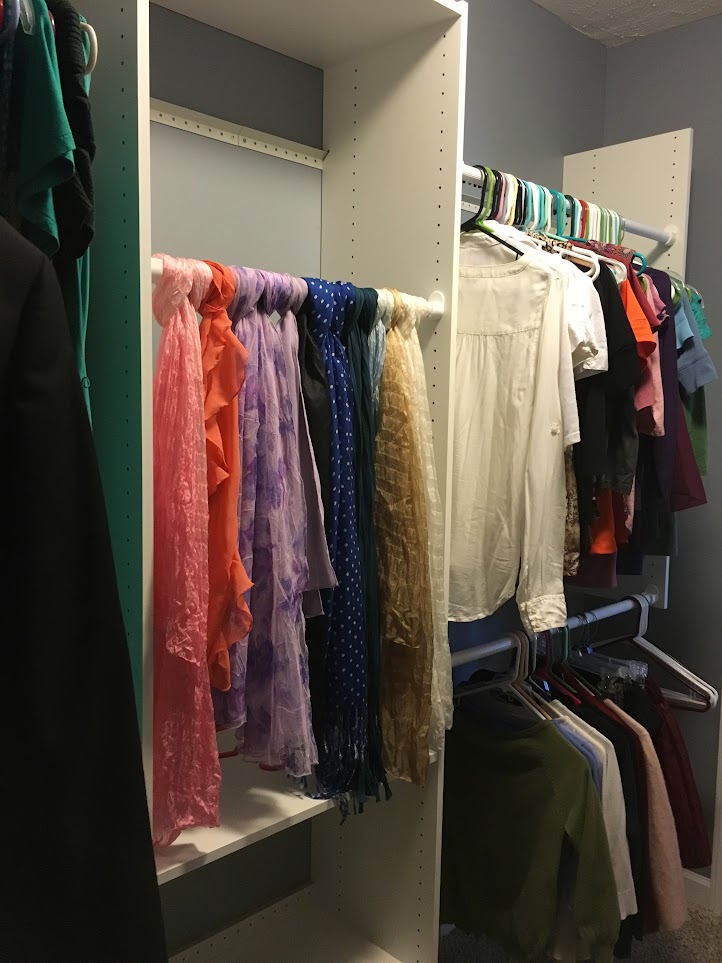
For now, I’m using the center bar to organize my scarves, as a bonus they serve as a curtain to hide all of my mismatched shoe boxes.
Step 5: Enjoy
On Monday morning, we had a much more organized closet to help us get ready for work.
There are a few more organization things I’d like to implement, including adding some more shelves to each side and potentially replacing our 5,000 different kinds of hangers with slim-line, velvet wrapped ones (like these) that are supposed to take up half the space.
Now that spring is here, we’re in the lawn and landscape phase of a new build. Hopefully we’ll have grass and plants soon and can enjoy our outdoor space this summer.
Have a wonderful Easter!
This post contains some affiliate links.
I love seeing home projects, and organizing is my thing, so I really loved taking a peek at what you did in your closet! Thanks for sharing.
Pingback: Contain Yourself {Cleveland Got a Container Store!} | ProbablyRachel